How to Bench Press: Complete Technique Guide for Perfect Form
Master the bench press with our complete technique guide. Learn proper setup, grip, bar path, breathing, and form cues to build strength safely and effectively.
The bench press is one of the most effective upper body exercises for building strength and muscle. However, proper technique is essential for maximizing results and preventing injury. This comprehensive guide breaks down every aspect of bench press form.
Quick Form Checklist
Before you start pressing, make sure you have these fundamentals in place:
- Feet flat on floor or up on bench (depending on style)
- Shoulder blades squeezed together and down
- Natural arch in lower back
- Grip approximately 1.5x shoulder width
- Bar path follows a J-curve from chest to lockout
- Elbows at 45-75 degree angle from torso
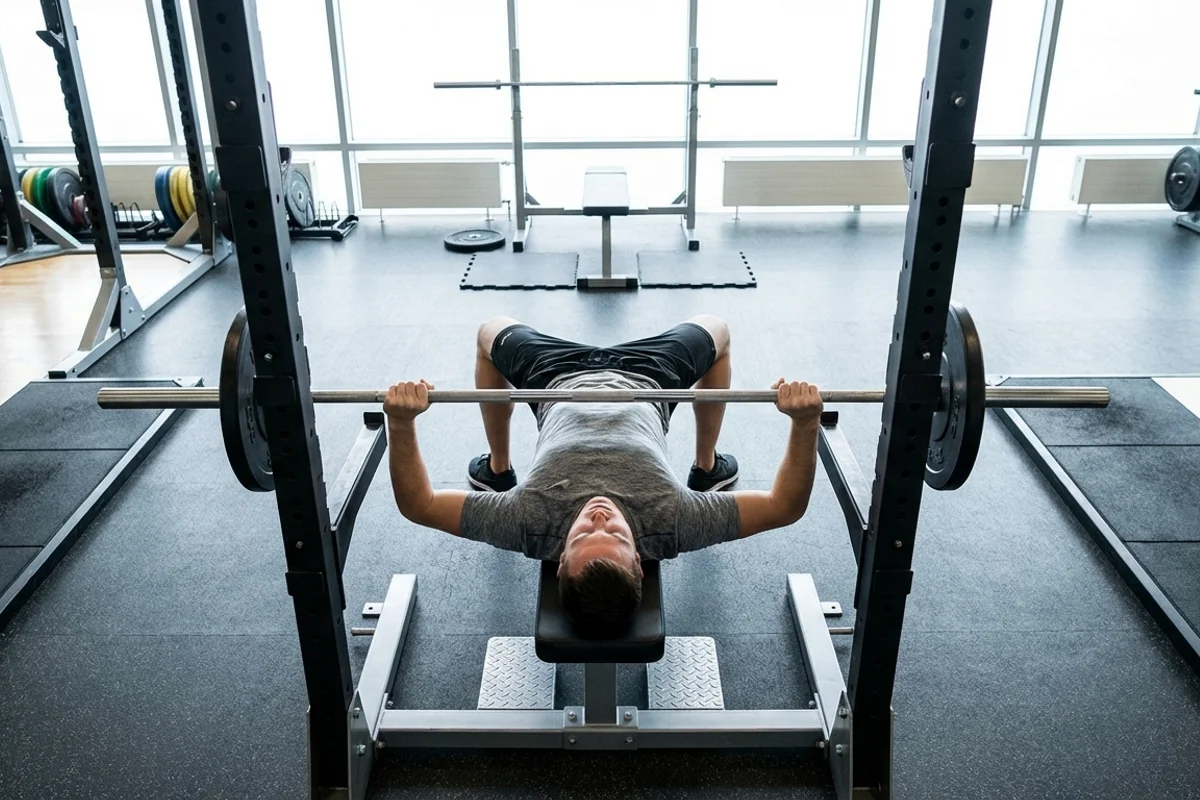
Setup: Before You Touch the Bar
The setup is the foundation of a good bench press. Taking time to position yourself correctly will make every rep more effective.
Bench Position and Alignment
Lie on the bench with your eyes directly under the bar. This position allows for a clean unrack without losing your setup. Your head, upper back, and glutes should all make contact with the bench throughout the lift.
Grip Width
The standard recommendation is to grip the bar at approximately 1.5 times your shoulder width. For most people, this means the index or middle finger on the knurling rings (81cm marks on a competition bar).
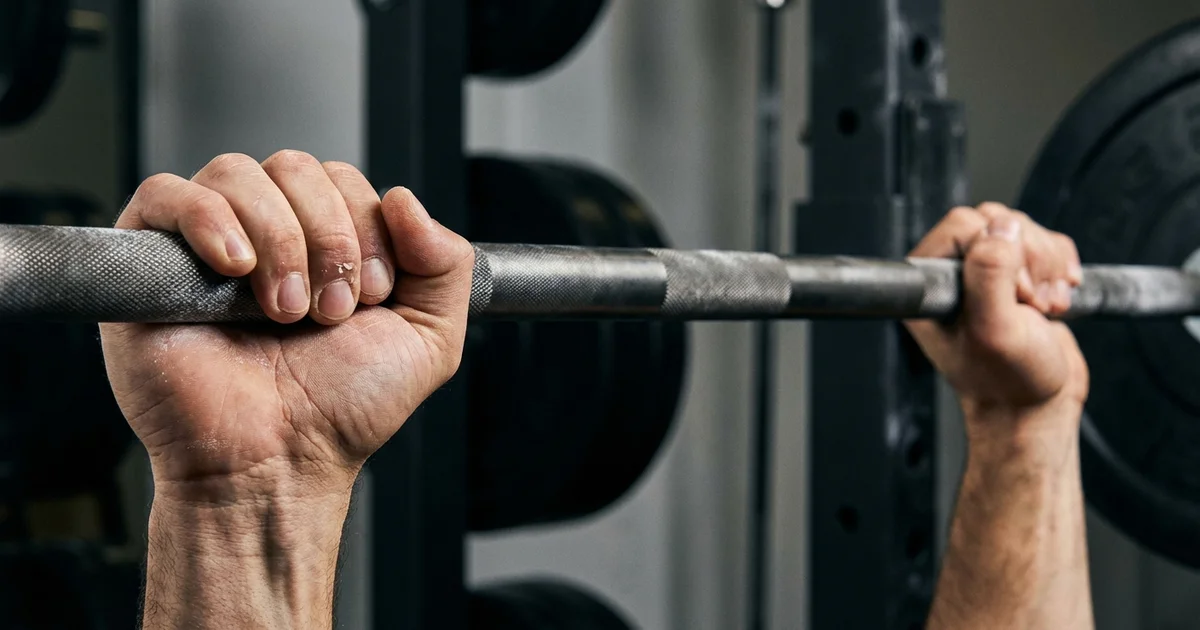
Narrow grip (inside shoulders): More tricep emphasis, less chest activation Medium grip (1.5x shoulder width): Balanced chest, shoulder, and tricep work Wide grip (index on rings or wider): More chest emphasis, shorter range of motion
Foot Placement Options
You have two main options for foot placement:
- Feet flat on floor: Provides a stable base and allows for leg drive
- Feet up on bench: Reduces lower back stress but eliminates leg drive
For maximum strength, keep your feet flat on the floor with your knees bent at approximately 90 degrees.
Creating the Arch
A natural arch in your lower back is not only safe but beneficial. It:
- Shortens the range of motion slightly
- Creates a more stable platform
- Engages your lats for better pressing power
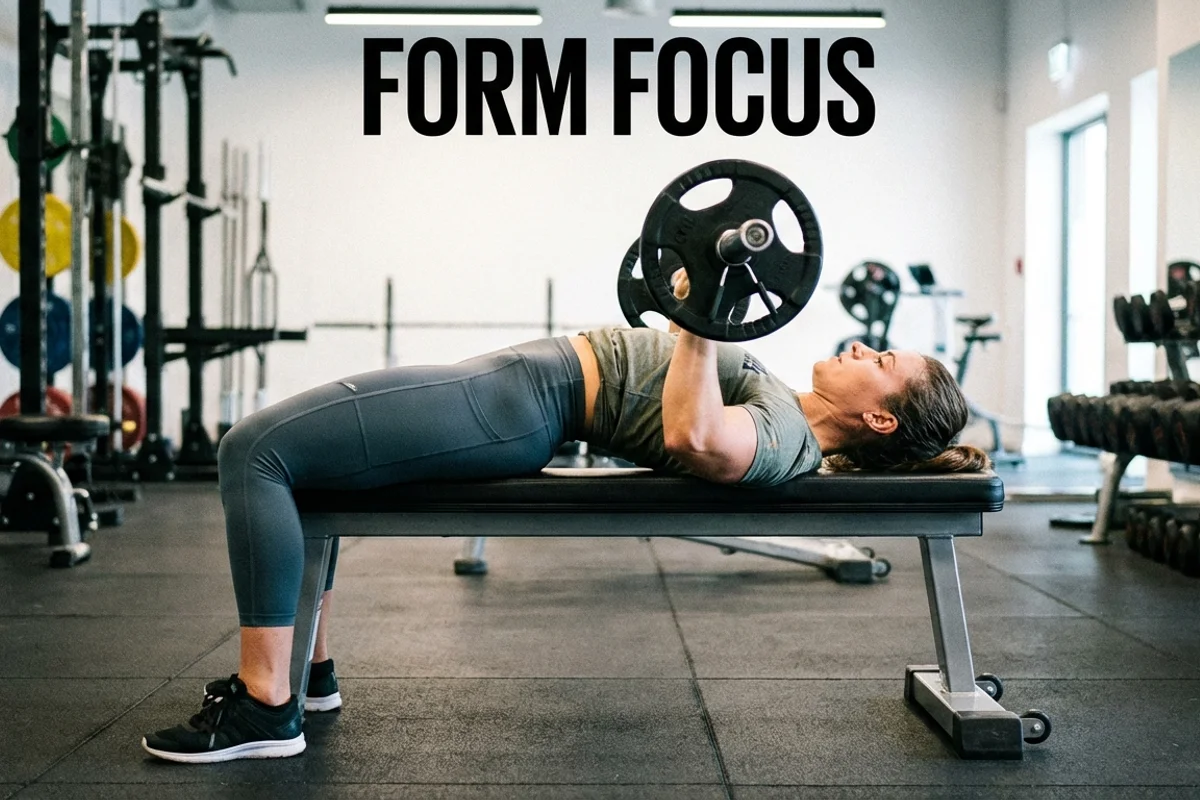
The arch should feel natural, not forced. Your glutes and upper back remain on the bench while your lower back maintains its natural curve.
Scapular Retraction
This is perhaps the most important setup cue. Squeeze your shoulder blades together and pull them down toward your back pockets. This:
- Creates a stable pressing surface
- Protects your shoulder joints
- Engages your upper back muscles
Think of pinching a pencil between your shoulder blades and holding it throughout the set.
The Lift: Step-by-Step
Unracking Safely
With your setup complete:
- Grip the bar firmly
- Take a deep breath and brace your core
- Press the bar up off the hooks
- Move the bar forward until it's directly over your shoulder joints
- Lock your elbows before beginning the descent
Never unrack directly into the descent. Always pause with the bar over your shoulders first.
The Descent (J-Curve Bar Path)
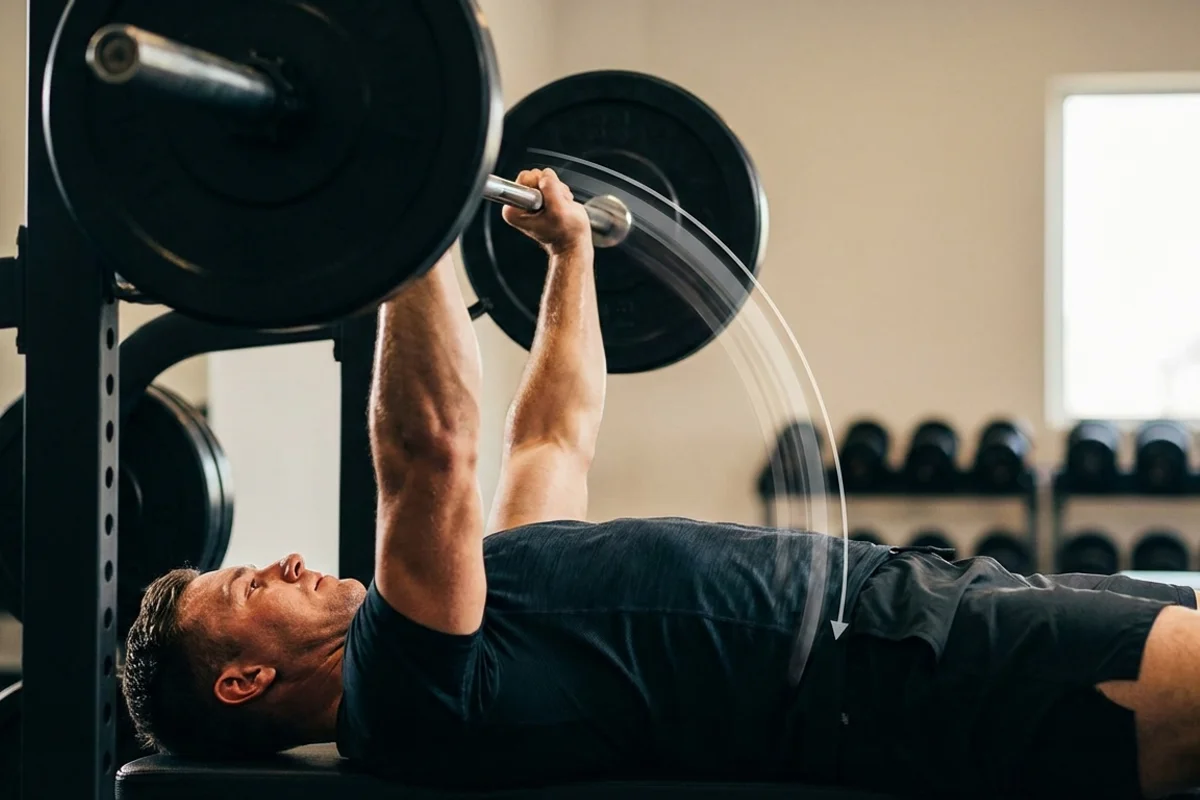
The bar should not travel straight up and down. Instead, it follows a slight J-curve:
- Start with the bar over your shoulders at lockout
- Lower the bar in a controlled diagonal path
- Touch your lower chest or upper abdomen (around nipple line)
- Keep your elbows at a 45-75 degree angle from your torso
The descent should take approximately 2-3 seconds. Never bounce the bar off your chest.
Chest Touch Point
The bar should touch your chest somewhere between your nipple line and the bottom of your sternum. The exact spot depends on your arm length and grip width:
- Wider grip = higher touch point
- Narrower grip = lower touch point
The bar should touch lightly, not crash into your chest.
The Press Phase
Drive the bar up and slightly back toward your face, following the reverse of the J-curve. Push through your entire palm, not just your fingers. Your elbows should extend at the same rate as your shoulders.
Common cue: "Push yourself away from the bar" rather than pushing the bar away from you.
Lockout Position
At the top, your arms should be fully extended with elbows locked. The bar should be directly over your shoulder joints, not over your face or chest.
Breathing Technique
Valsalva Maneuver Explained
For heavy bench pressing, the Valsalva maneuver creates intra-abdominal pressure that stabilizes your spine and increases strength:
- Take a deep breath into your belly (not just your chest)
- Hold your breath and brace your core
- Perform the rep while holding your breath
- Exhale at lockout
When to Breathe During Reps
- For heavy sets (1-5 reps): Use Valsalva. One breath per rep, breathe at lockout.
- For moderate sets (6-12 reps): Breathe in on the descent, out on the press.
- For high reps (12+): Maintain rhythmic breathing throughout.
Common Setup Mistakes
| Mistake | Problem | Fix |
|---|---|---|
| Flat back | Unstable pressing surface | Create natural arch |
| Loose shoulder blades | Shoulder injury risk | Squeeze and retract scapulae |
| Feet dancing | Loss of power | Plant feet firmly |
| Eyes not under bar | Difficult unrack | Position eyes under bar |
| Gripping too narrow/wide | Suboptimal mechanics | Use 1.5x shoulder width |
Programming Your Bench Press
Once you've mastered the technique, structure your training for progress:
Beginners: 3 sets of 8-12 reps, 2x per week Intermediate: 4-5 sets of 5-8 reps, 2x per week Advanced: Periodized programming with intensity variation
Track your progress using our Bench Press Calorie Calculator to understand the energy demands of your training.
Related Guides
- Bench Press Muscles Worked - Understand the anatomy
- Common Bench Press Mistakes - Avoid these errors
- Bench Press for Beginners - Start your journey
- How to Increase Your Bench Press - Break through plateaus
- Bench Press Safety Guide - Train safely